2026-09-14
How to Build a Custom Crypto Checkout Flow
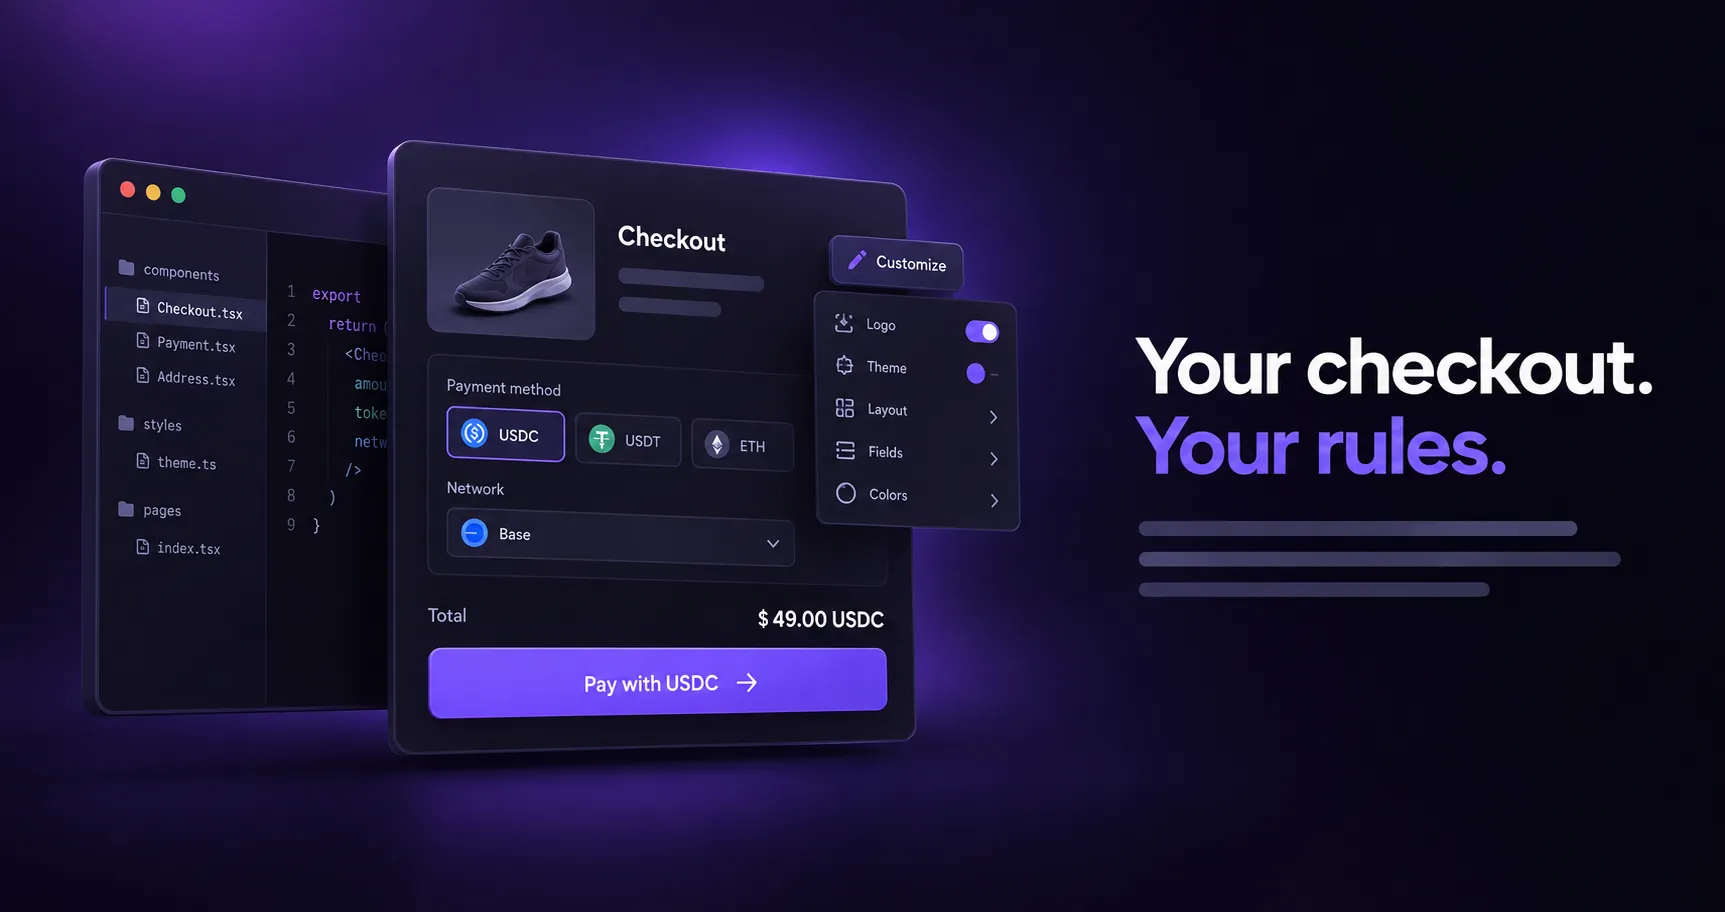
A hosted crypto checkout is often the first compromise in a payment integration. Your customer leaves your product, lands in someone else's UI, and your backend waits for a processor to decide when money is available.
If you want checkout logic that belongs to your product, treat crypto payment acceptance as infrastructure: create a charge, present a destination, detect the on-chain transfer, and update your order state from verified events.
The point is not to put a wallet button next to a credit-card button. The point is to preserve control over the money flow, the customer experience, and the code that connects them.
Start with the settlement model
Before writing a checkout component, decide who receives funds and when. That decision determines whether you are integrating payment infrastructure or adding another financial intermediary.
In a direct on-chain model, a customer sends USDC to a dedicated address generated for a specific charge. The payment infrastructure observes the chain, matches the transfer against the charge requirements, and reports status. It never receives the funds into a processor-controlled balance it could hold or delay — the destination is merchant-controlled routing, not a provider account. With Klappay, that destination is itself an ownerless smart contract, so payout to the merchant's actual wallet is a distinct, independently tracked step (charge.confirmed, then charge.settled) rather than something a provider could redirect at will.
That distinction affects more than principle. It affects reconciliation, marketplace payouts, treasury access, and failure handling. A custodial processor can make the first demo feel easy, then insert account approvals, withdrawal rules, delayed availability, and an opaque ledger into the path of money. Your application ends up trusting a balance API instead of the chain.
Direct settlement has trade-offs too. Your team owns wallet policy, recipient address validation, and accounting treatment. That is the correct trade if control matters. Be explicit about which system you are building before you write a line of checkout code.
Model a charge as a server-side object
A custom checkout should begin on your server, not in the browser. The browser can request a payment session, but it should not set prices, choose recipient addresses, or decide an order is paid.
When a customer reaches the payment step, your backend creates an internal order first — then creates a crypto charge with the amount, asset, network, expiration policy, and recipient configuration. Store the returned charge ID against the order. If the infrastructure generates a deterministic payment address for that charge, store it for display and support workflows.
Here is what that looks like with Klappay:
const merchant = await klap.recipients.create({address: merchantWallet,label: 'merchant',})const charge = await klap.charges.create({amount: 49.00,expiresIn: 3600,idempotencyKey: `charge_${order.id}`,externalRef: `order_${order.id}`,acceptedPayments: [{ token: 'USDC', network: 'base' }],splitRecipients: [{ recipientId: merchant.id, percent: 100, label: 'merchant' },],})await db.orders.update(order.id, {chargeId: charge.id,status: 'awaiting_payment',})
Your database remains the source of truth for order and entitlement state. The charge is the source of truth for the payment request. The chain is the source of truth for asset movement.
Never create a new charge on every page refresh. Pass an explicit idempotencyKey derived from the order — replaying the same key with the same request returns the original charge instead of creating a duplicate. Multiple valid addresses for one order turn support, refunds, and reconciliation into avoidable work.
Build the checkout UI around clear payment facts
Your frontend needs only what a customer needs to pay: the amount, token, network, destination address, QR payload, expiry, and current status. Everything else stays behind your API.
For a USDC payment on Base, show "USDC on Base" as a first-class instruction. Do not assume customers infer network requirements from an address. A transaction sent on the wrong network is not a normal failed payment — it may be an operational recovery problem, and sometimes it is unrecoverable.
A good custom checkout UI supports address copy, QR scanning, a connected-wallet send action where appropriate, and a visible countdown if charges expire. It should also explain what happens after broadcast — the application is waiting for on-chain detection and any confirmation policy you require.
Avoid treating a wallet signature as payment success. A signature may authorize a transaction, but the transfer can still be rejected, replaced, or never broadcast. The checkout succeeds when your backend receives and verifies a qualifying on-chain payment event.
Make status events drive the order state
Polling from the browser is acceptable as a fallback, but it is a weak foundation for fulfillment. Use server-sent events for immediate checkout feedback, and webhooks for durable backend state transitions. They solve different problems.
The live event stream needs a secret API key, so it belongs to your backend, not a customer's browser. Have your backend hold the stream open and relay progress to the checkout page over its own channel — a charge can move from pending to confirmed and this still reaches the customer fast enough to feel real-time. If the customer closes the tab, that connection disappears. Your order processing must not disappear with it.
Webhooks are the durable path. Verify their signature, persist the event ID, and process them idempotently. A provider can retry delivery. Your endpoint can receive the same event twice. Your code must produce one fulfillment decision — not two license grants or two shipment requests.
app.post('/webhooks/klappay',express.raw({ type: 'application/json' }),async (req, res) => {let eventtry {event = klap.webhooks.constructEvent(req.body,req.headers['x-klappay-signature'],process.env.KLAP_WEBHOOK_SECRET,)} catch {return res.sendStatus(400)}if (event.event === 'charge.confirmed') {const alreadyHandled = await db.paymentEvents.exists(event.id)if (alreadyHandled) return res.sendStatus(200)await db.transaction(async (tx) => {await tx.paymentEvents.insert({ id: event.id })await tx.orders.markPaid(event.data.externalRef, {transactionHash: event.data.txHash,})await tx.outbox.enqueue('fulfill-order', {orderId: event.data.externalRef,})})}res.sendStatus(200)})
Use an outbox or queued job for downstream fulfillment. Payment confirmation should not depend on a slow email provider, inventory service, or third-party entitlement API responding inside a webhook request.
charge.confirmed tells you the transfer landed on-chain — that is usually enough to fulfill a low-value digital order. A high-value order can instead wait for charge.settled, which fires once the payout actually reaches the merchant's wallet and is a genuinely later, separately monitored step.
Treat partial payments and expiry as product decisions
Crypto charges are not always binary. A customer can send too little, too much, late, or in an unsupported asset. Your checkout needs defined behavior for each case before launch.
For fixed-price commerce, the simplest policy is to mark underpayments as incomplete and avoid automatic fulfillment. If your product can support top-ups, show the remaining amount and keep the charge active until expiry. Overpayments deserve a separate policy because automatic refunds create their own security and compliance concerns — do not blindly return funds to an address supplied in a support ticket.
Expiry is equally important. Exchange rates, inventory reservations, and payment intent all have a shelf life. When a charge expires, release the reservation or offer a new quote. Keep the old charge record for auditability, but do not let an expired destination remain presented as a valid route to fulfillment.
Use native splits when the business model requires them
Marketplaces, creator platforms, and multi-party services should not collect all funds into a platform wallet merely because the payment API cannot express the real distribution. That design creates unnecessary custody, payout liabilities, and ledger work.
Define recipient splits when creating the charge. A $100 USDC payment can distribute 90% to a seller and 10% to a platform treasury according to rules your backend controls. The important question is whether the split is represented in the settlement path — not just in an internal spreadsheet after the fact.
This is where developer-first infrastructure matters. Klappay is built to create charges, route direct on-chain payments, surface status through SDK methods, SSE, and webhooks, and distribute funds without taking custody. Your checkout remains yours.
Keep security boundaries strict
Do not expose API secrets in the browser. Do not let clients choose arbitrary recipient wallets. Do not fulfill based on a client-reported transaction hash without verifying it against the expected charge conditions.
Use typed request and event schemas at every boundary. Validate recipient configuration at deployment or admin-update time, not only when checkout traffic arrives. Log charge IDs, order IDs, transaction hashes, network, token, and event IDs together so your team can trace a payment without guessing across systems.
A sandbox that simulates charge events is worth using before real-chain testing. Test duplicate webhook delivery, expired charges, delayed confirmations, underpayments, and a customer returning to a checkout after the payment has already confirmed. Happy-path demos do not reveal state-machine bugs.
The checkout screen is the visible part of crypto payments. The real product is the system behind it: a charge model your backend owns, verified on-chain settlement, event handling that survives retries, and money that goes directly where your business intended. Build that system first, and the interface can stay simple.